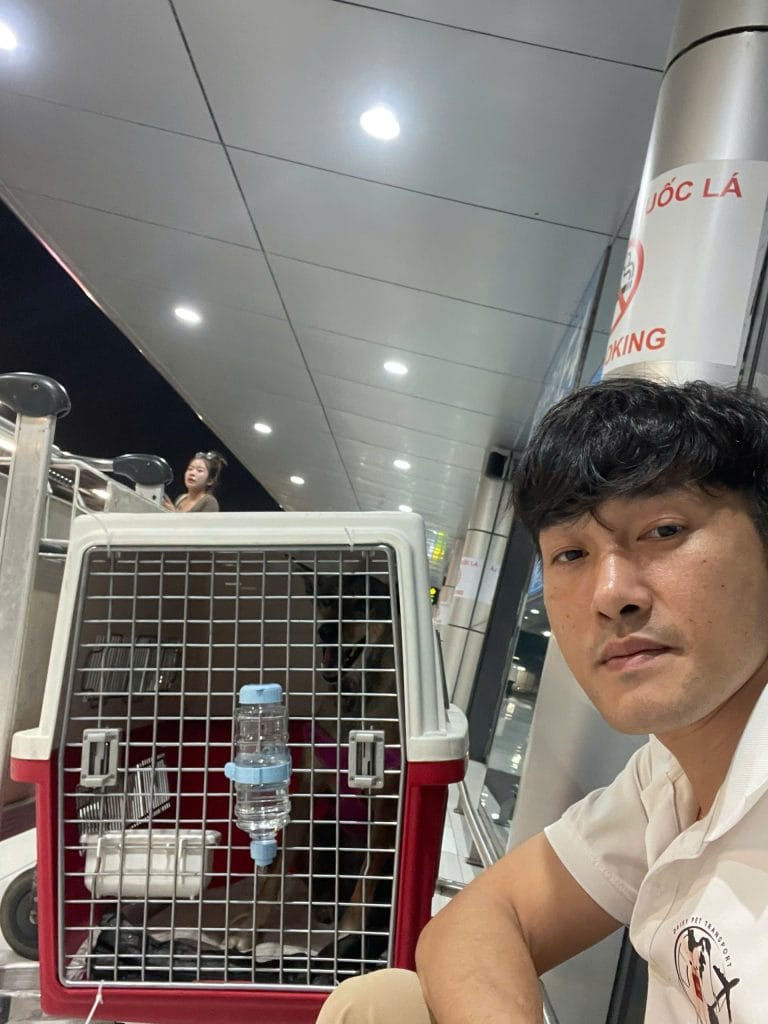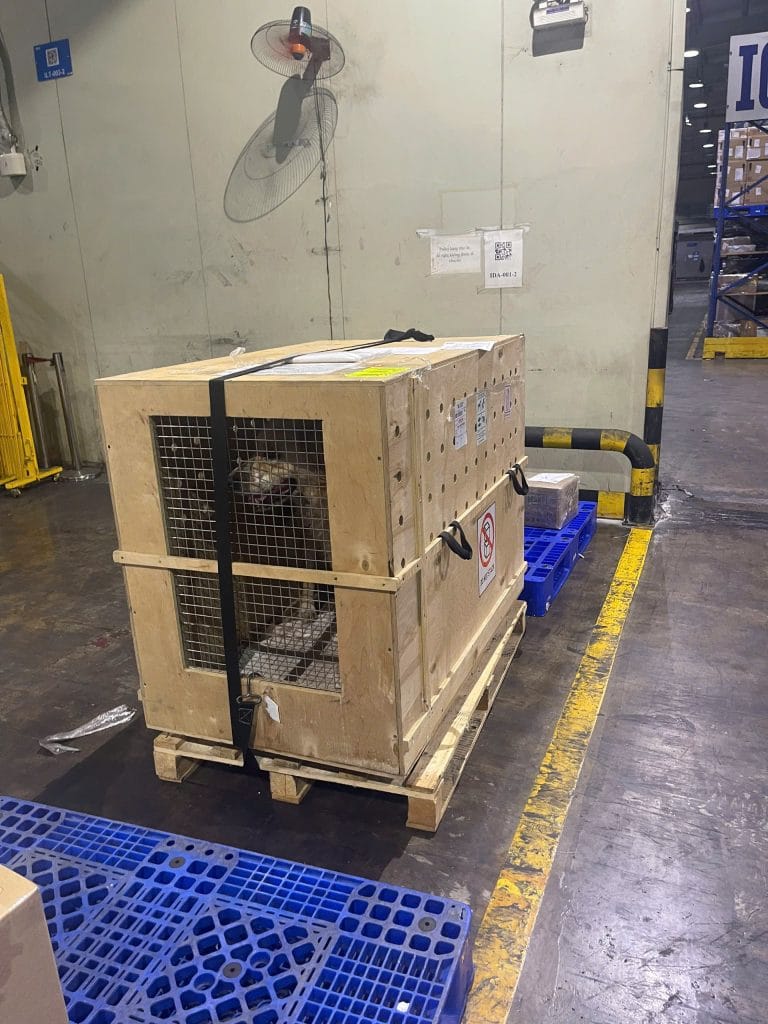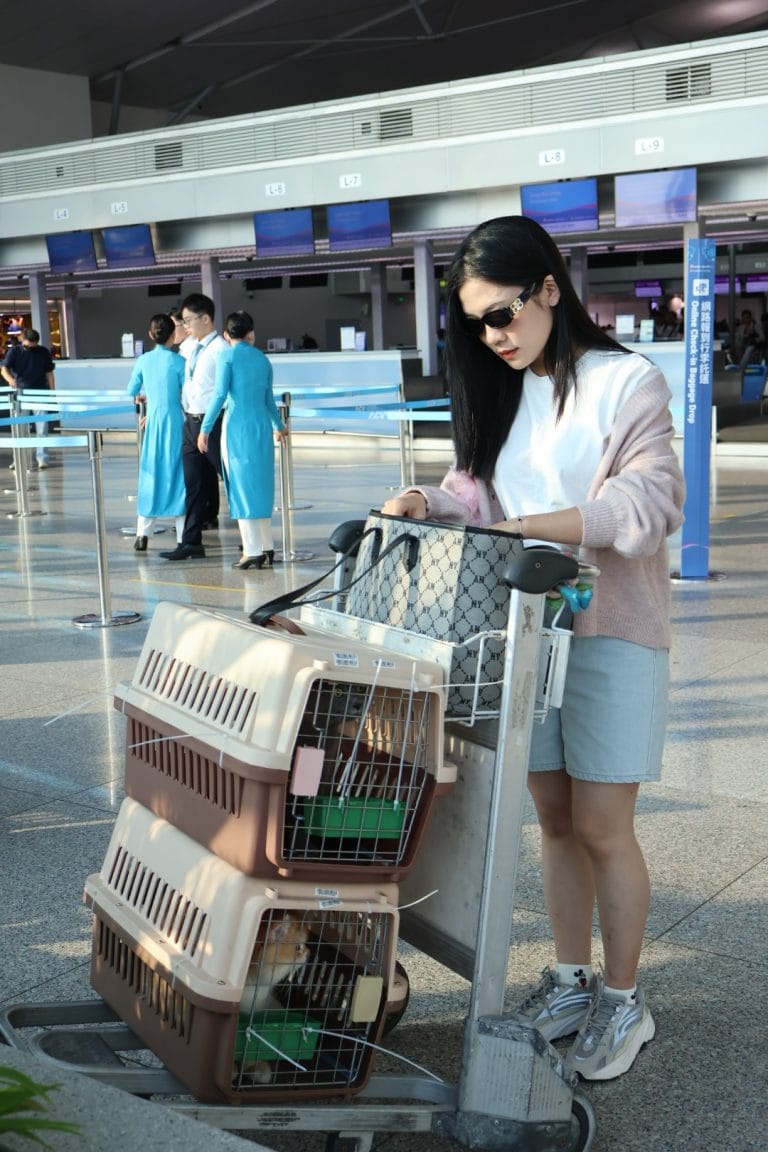

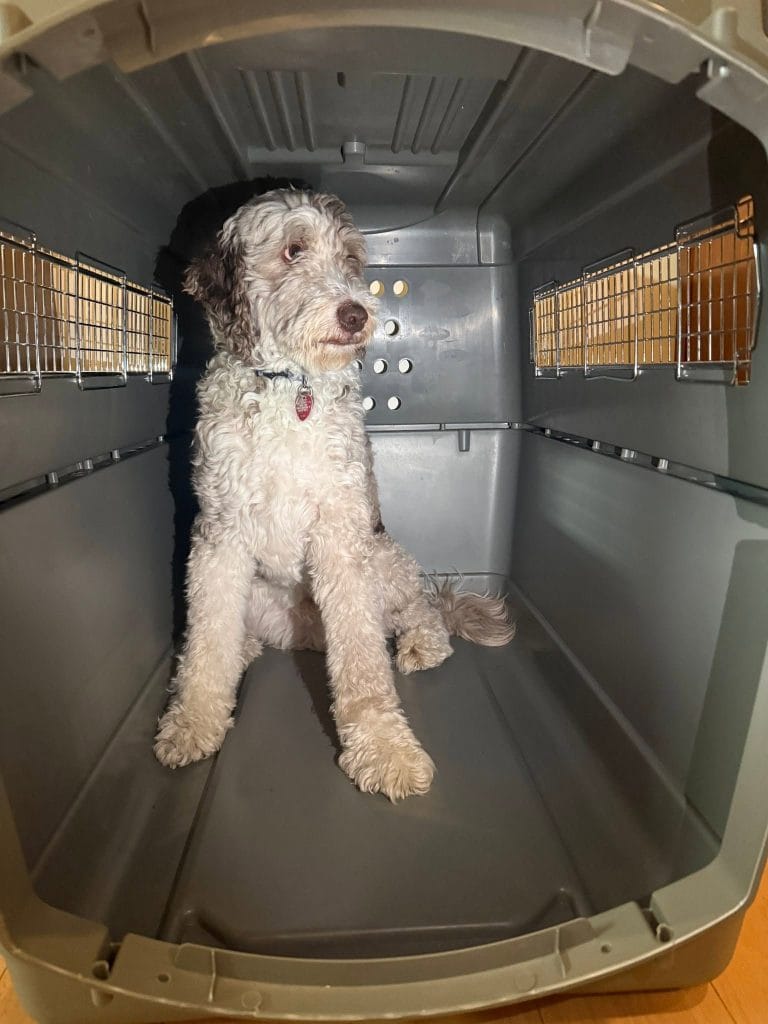
“He flew fine in this crate last time, the airline accepted him, he came home safe — why is he suddenly panicking at the door now?” Owners ask us this every season, and the answer is almost always the same: the crate was never actually trained for, just used.
A pet that panics inside the crate at the airport is a pet that can be refused by the airline. Excessive barking, scratching at the door, or visible distress tells cargo staff the animal isn’t fit to fly, and months of paperwork and planning can unravel in that one moment. Crate training fixes this before it becomes a problem. It’s part of the same preparation covered in our guide to IATA-compliant pet travel crates, and it deserves just as much attention as picking the right size.
Crate training isn’t optional for international pet travel. It’s a welfare requirement, and it’s one of the most skipped steps in the whole relocation process. Below is a structured 6-week timeline built from what actually gets pets comfortable, not just theory.
Why Crate Training Isn’t Optional for Air Travel
| Without Crate Training | With Proper Crate Training |
|---|---|
| Pet panics; excessive barking, panting, scratching | Pet enters the crate calmly and settles quickly |
| Risk of refusal at the cargo counter | Smooth acceptance and loading |
| In-flight stress leads to dehydration and exhaustion | Pet rests or sleeps for most of the flight |
| Crate damage from escape attempts | Crate stays intact for the whole journey |
| Pet arrives exhausted and shaken | Pet arrives calm and ready to adjust |
Step 1: Start With the Right Crate (Week 1)
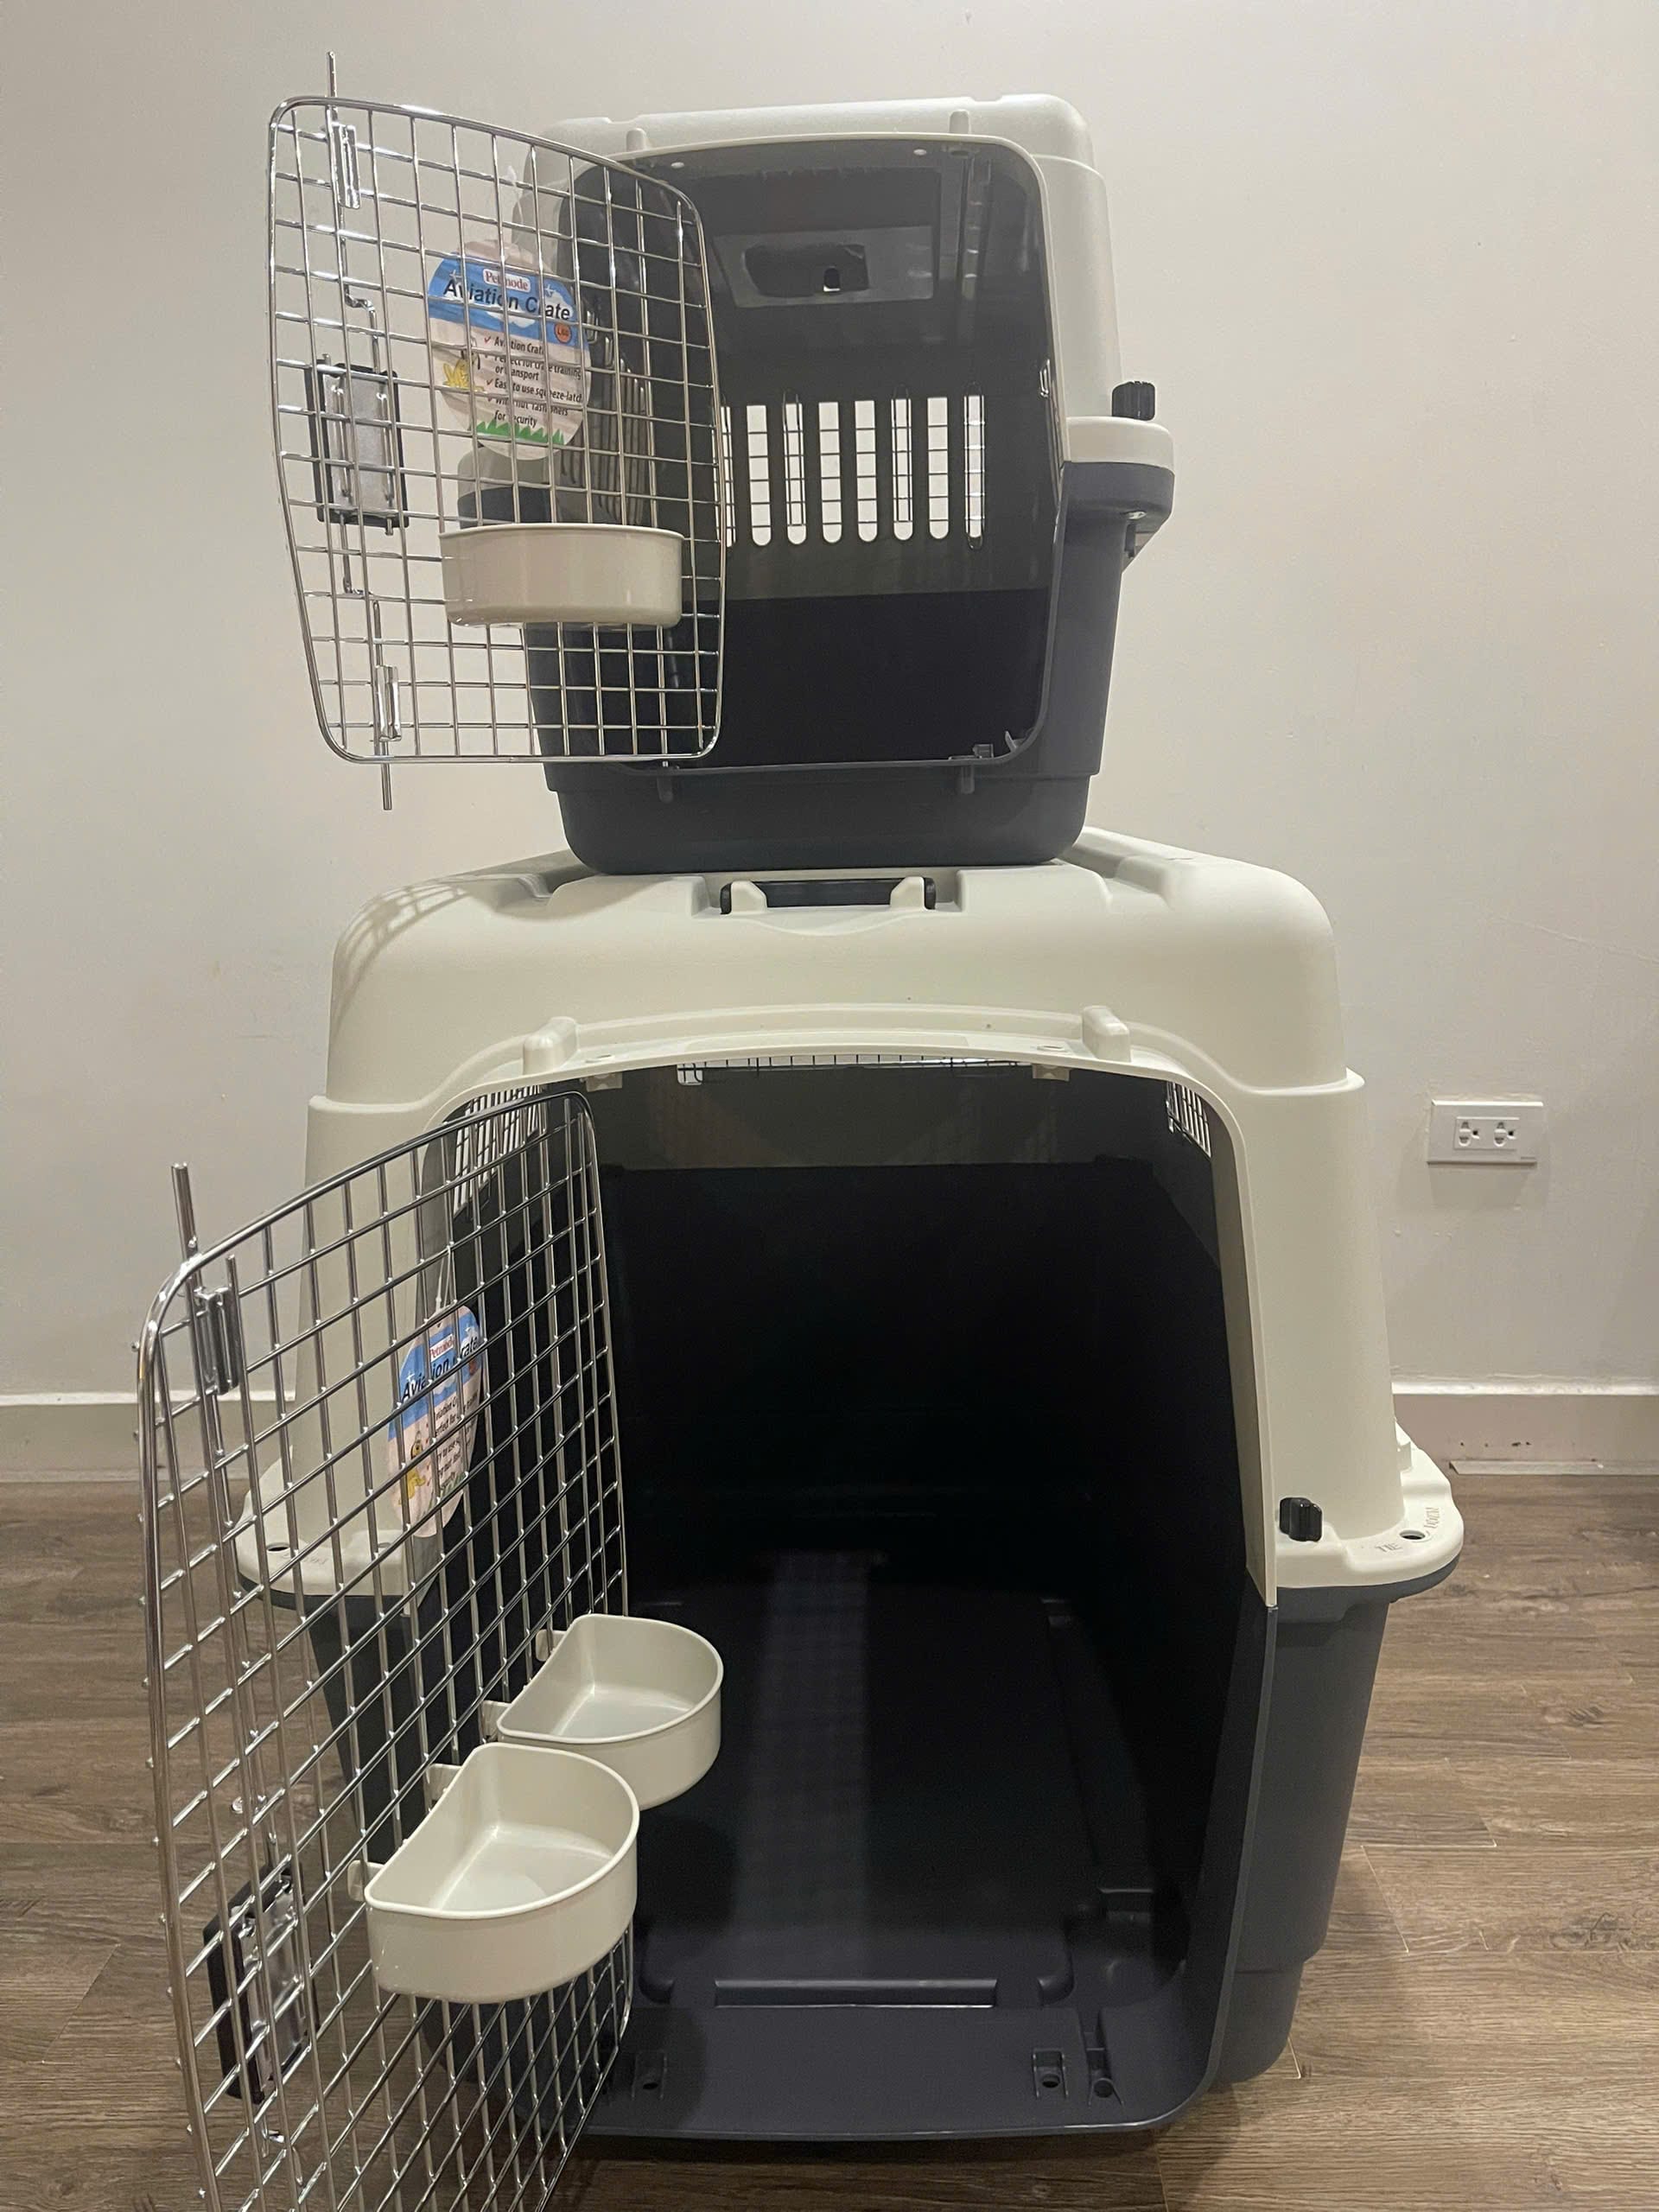
Training only works if the crate itself is right. Before you begin, confirm it meets IATA crate requirements:
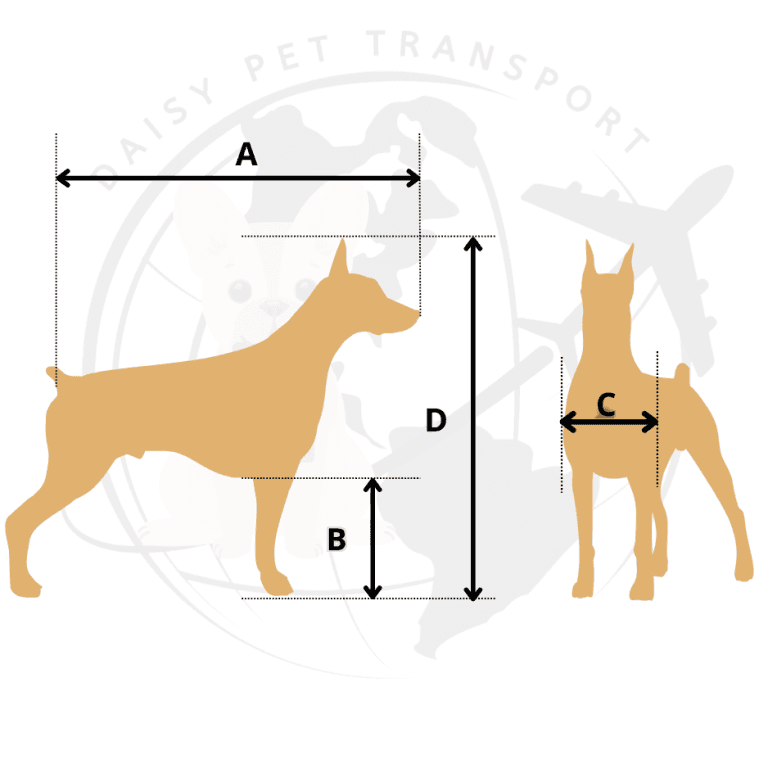
- Size formula (IATA): Length = A + ½B, where A is nose to base of tail and B is floor to elbow. Width = C × 2, where C is the width across the shoulders. Height = D + bedding, where D is floor to the top of the head or ear tip while standing. These are inside dimensions, and snub-nosed breeds need a crate 10% larger. See how to take each measurement.
- Material: Rigid plastic, fiberglass, metal or solid wood. Ventilation on all four sides, covering at least 16% of the four side walls. One whole end, usually the door, must be welded wire mesh. A plastic door is accepted only if its hinges and locking pins are metal.
- Hardware: Top and bottom halves bolted together, never held by plastic clips alone (IATA recommends metal nuts and bolts in every hole); cable ties in the four corners of the door frame; a “Live Animals” label and “This Way Up” labels on at least two opposite sides.
- Accessories: A water dish fixed inside that can be refilled from outside without opening the door; absorbent bedding; no loose toys or blankets that could pose a choking risk.
💡 Critical: Train in the actual crate your pet will fly in — not a similar one, not a smaller one. The pet needs to get used to the exact space, smell, and feel it will experience during transport.
Step 2: Introduction, No Pressure (Week 1–2)
- Set the crate up in a living area with the door removed or tied open. It should become part of daily life, not something that appears out of nowhere right before a trip.
- Let your pet explore on their own terms. Don’t push, drag, or place them inside. They need to approach it themselves.
- Put familiar-smelling items near the entrance (not inside yet) — a favorite blanket or a worn t-shirt with your scent works well.
- Praise every approach. A sniff, a paw touch, even just looking at it — calm verbal praise each time.
Step 3: Build a Positive Association (Week 2–3)
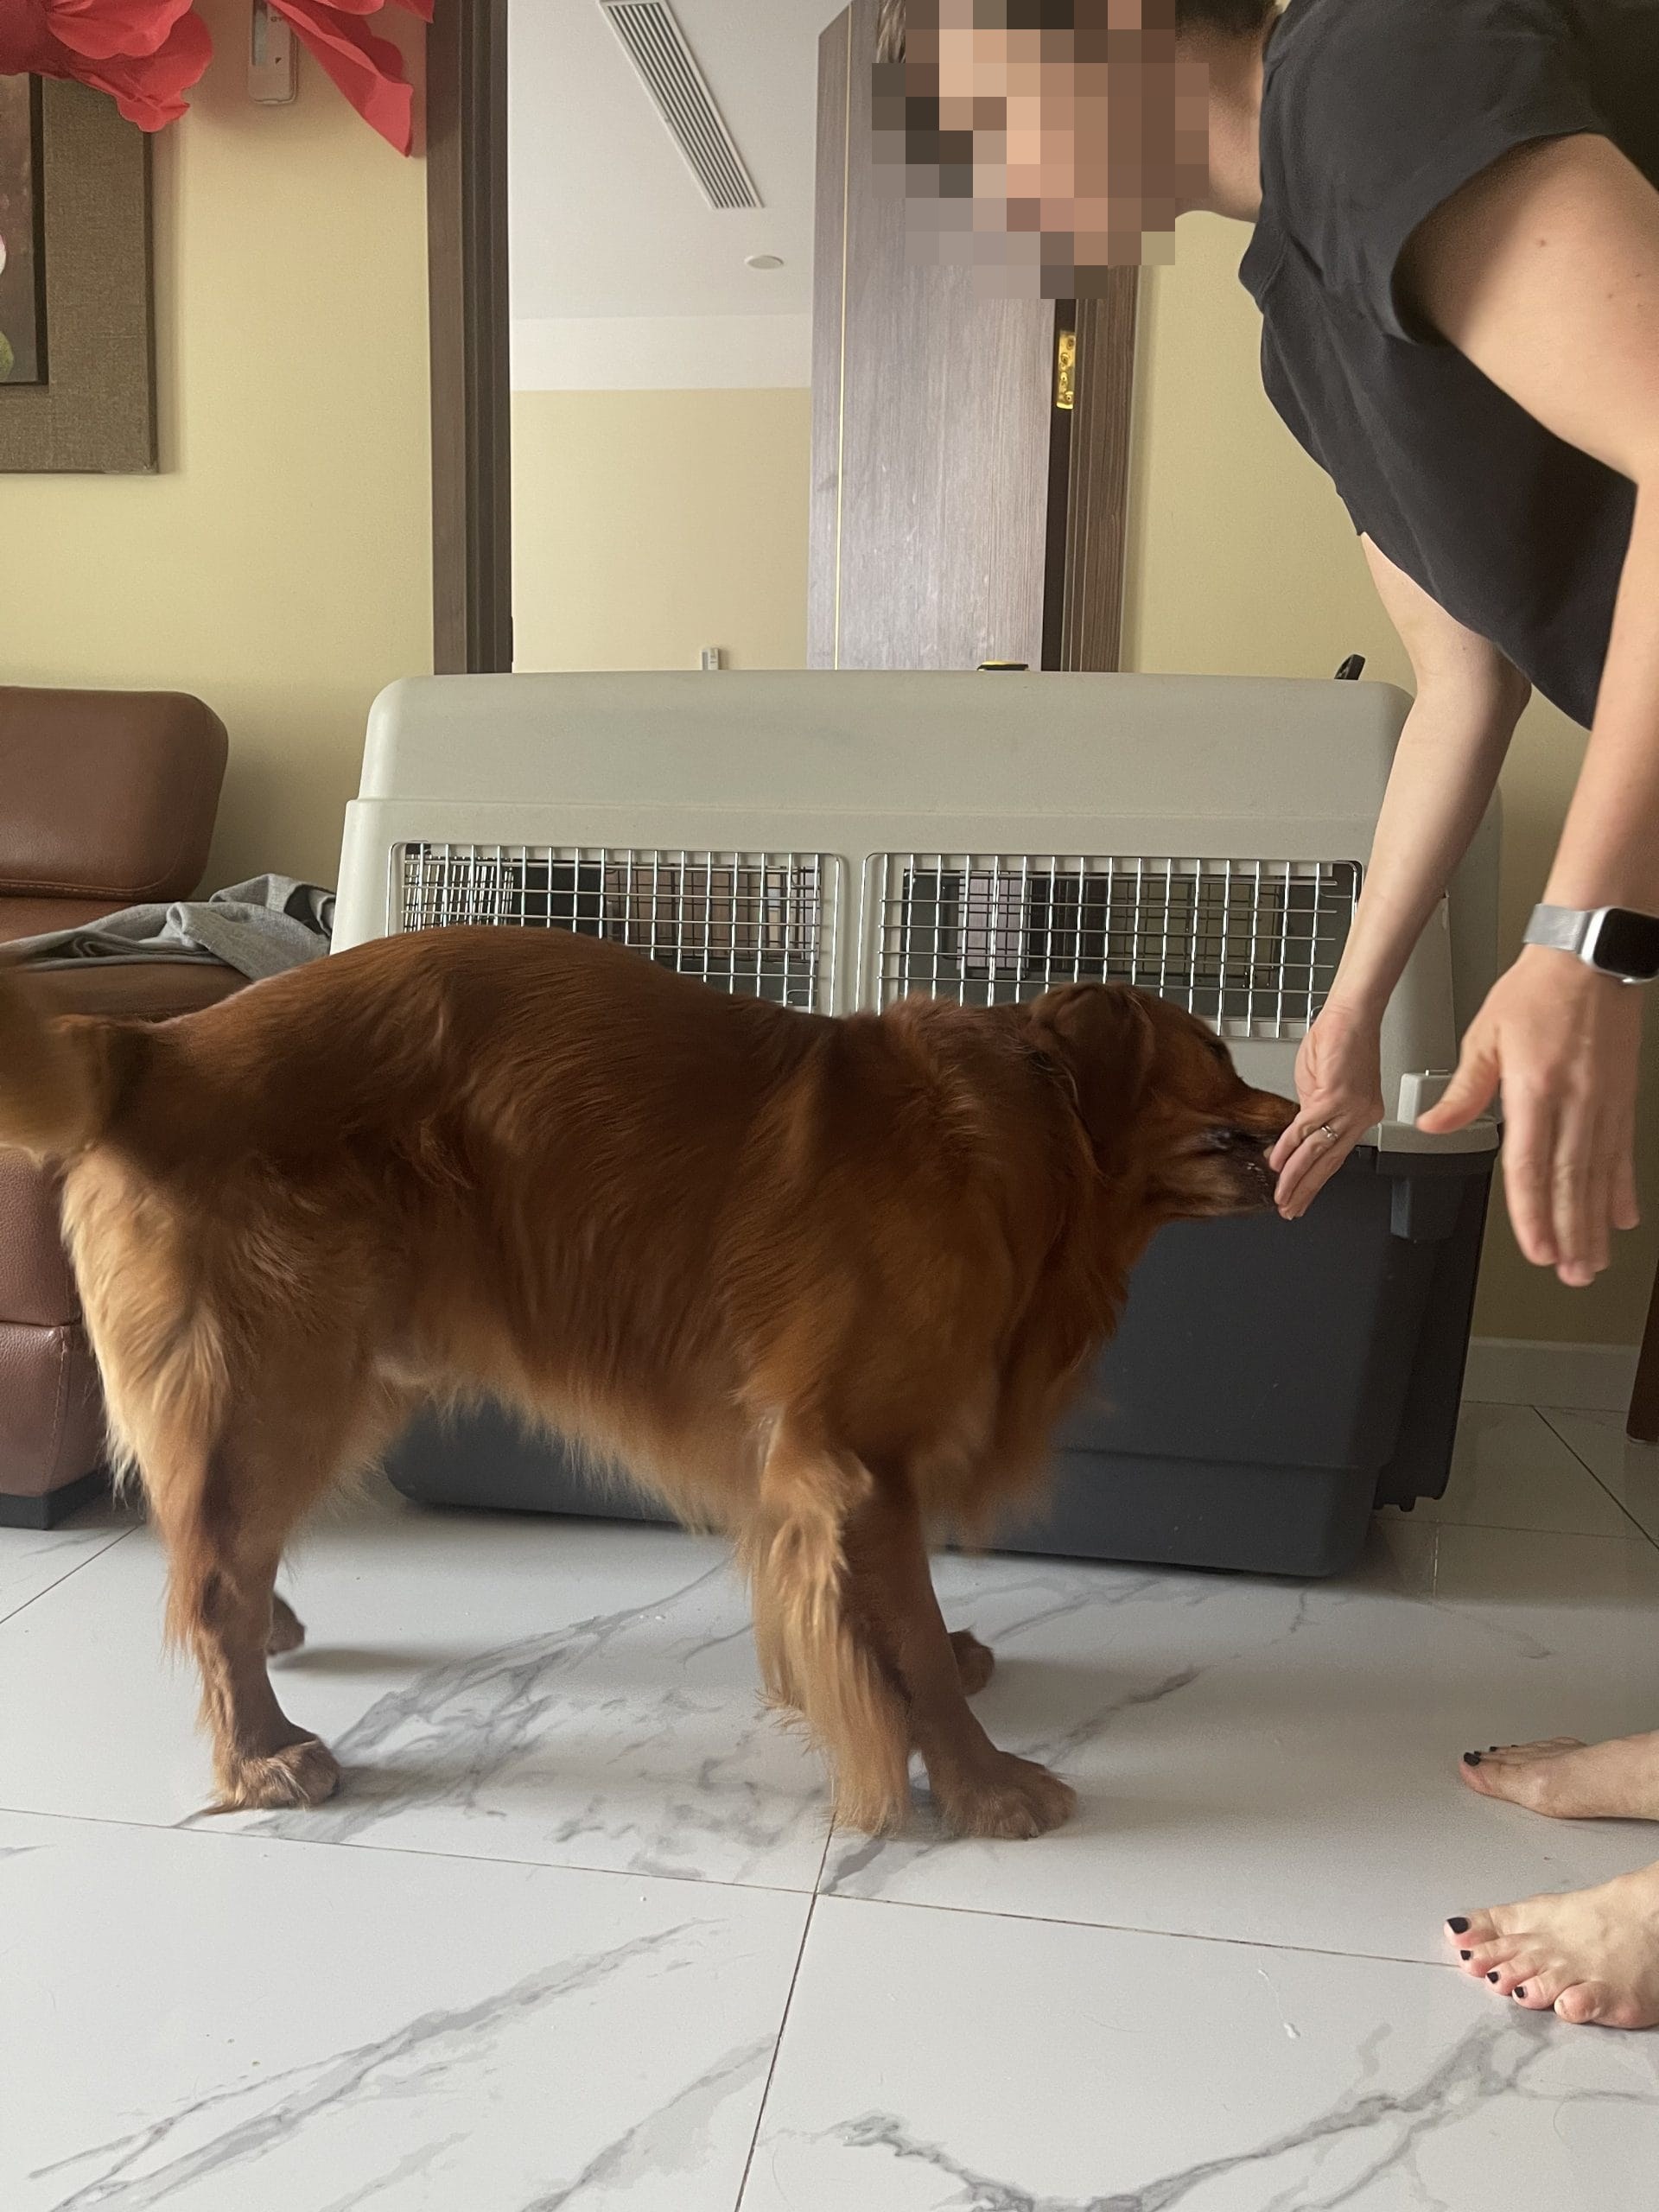
- Feed meals near the crate at first, then gradually move the bowl further inside over a few days.
- Hide high-value treats inside — start at the entrance, then the middle, then the back. Let your pet go in and out freely.
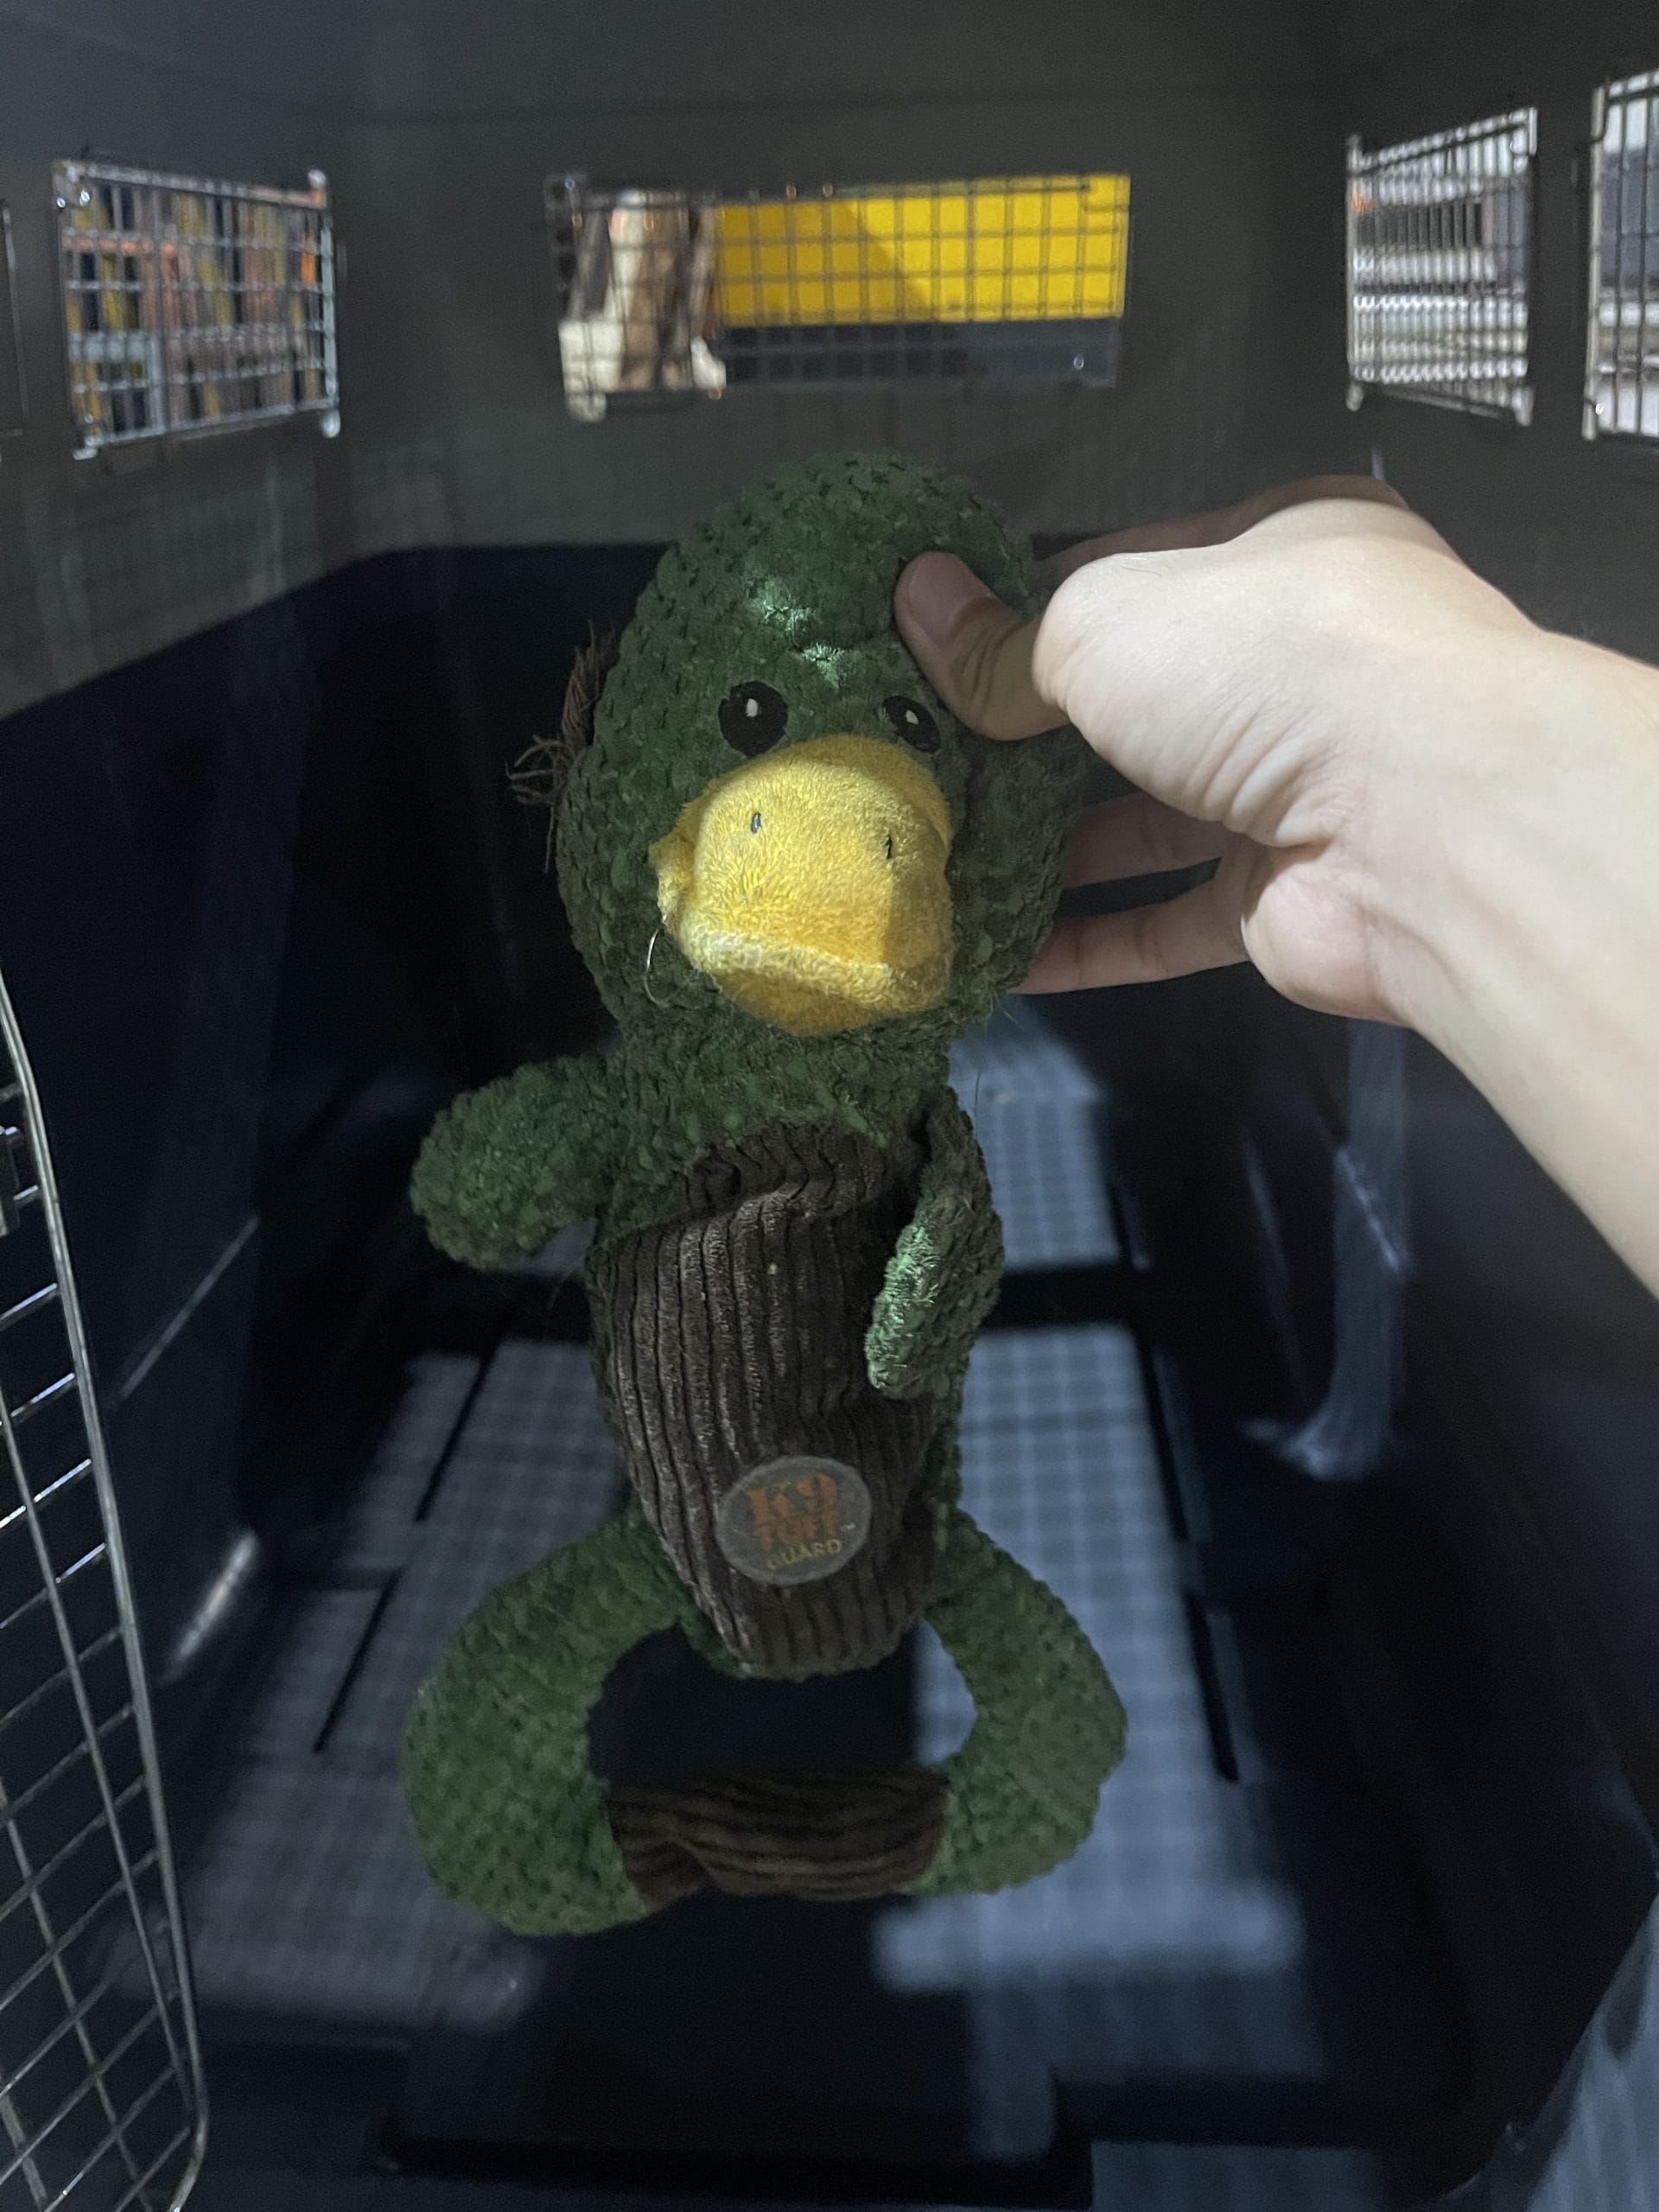
- Add a chew toy or puzzle feeder inside so time spent in the crate feels rewarding, not forced.
- Never use the crate as punishment. It has to mean “good things happen here,” every single time.
Step 4: Door-Closed Training (Week 3–4)
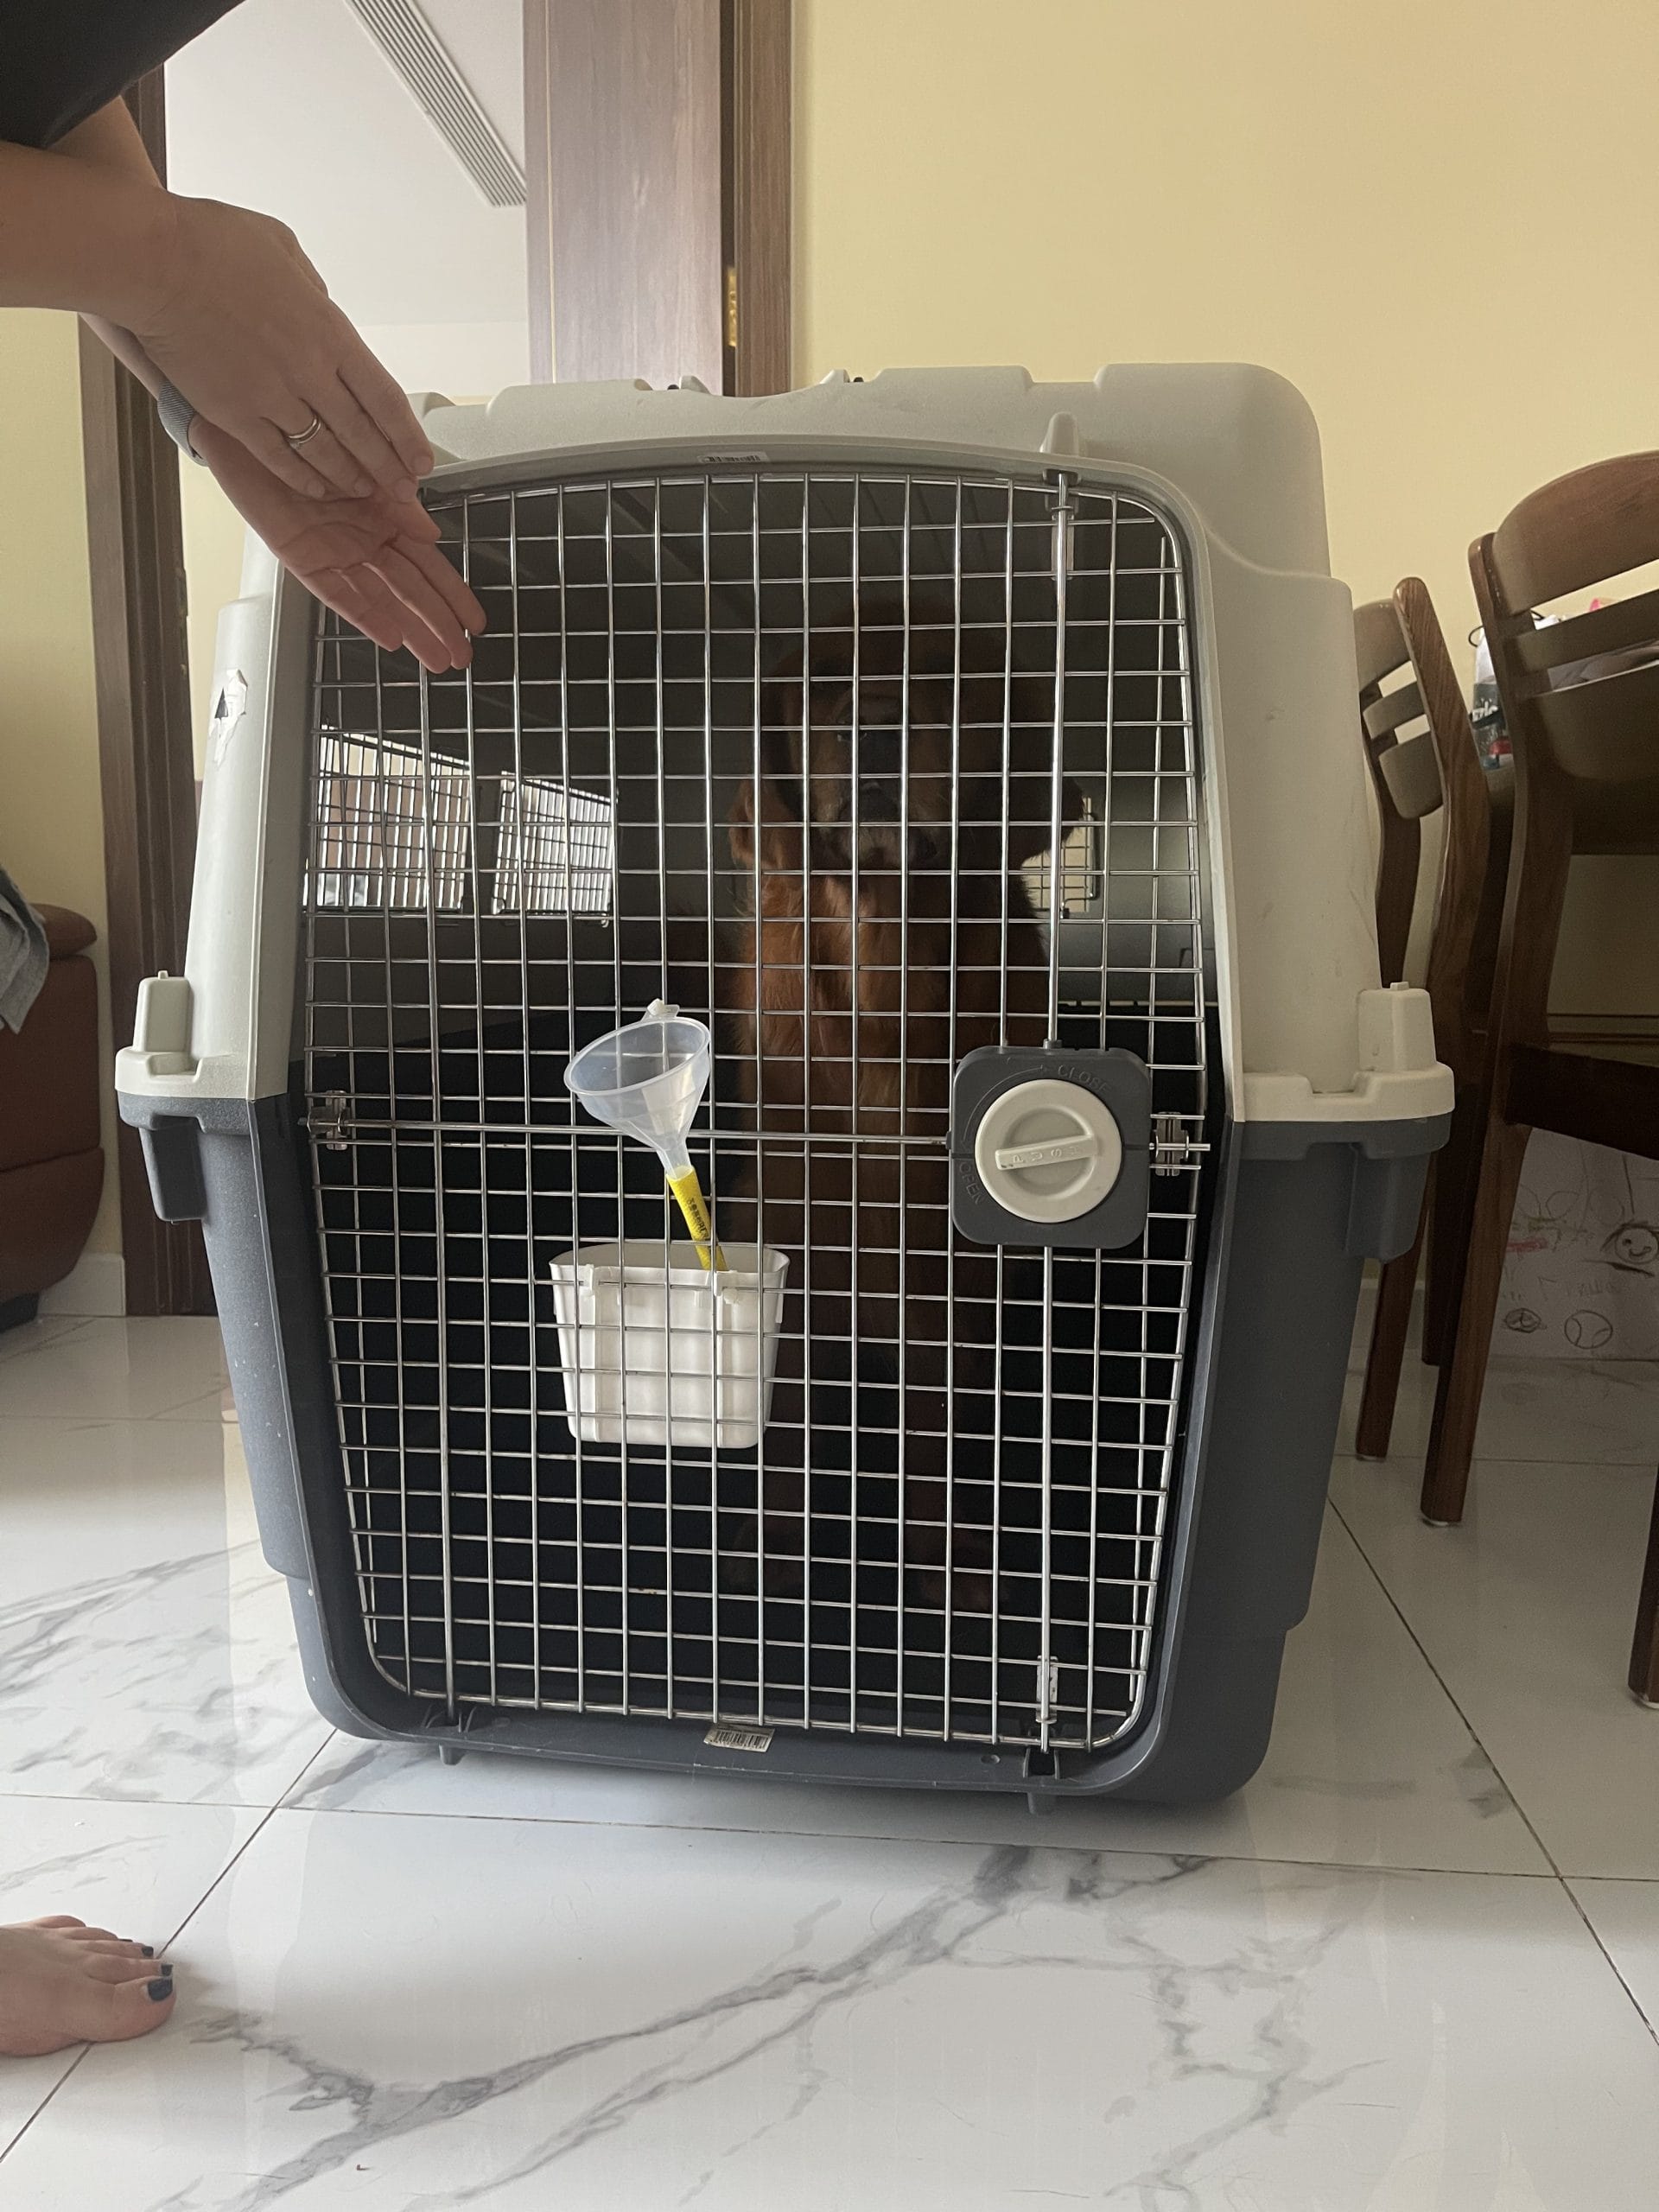
- Close the door for 10 seconds while your pet eats inside, then open it right away. Repeat 5 times a day.
- Stretch it to 1 minute, then 5, then 15, staying in the room the whole time. If your pet whines, wait for a brief quiet moment before opening — opening the second they whine teaches them that whining works.
- Move to 30 minutes with the door closed while you move around the room as usual. This is what turns the crate into “rest mode” instead of a cage.
- Push to 1–2 hours with you in another room. By now your pet should settle down and nap on their own.
Step 5: Simulate the Journey (Week 4–6)
- Put the crate in the car with the engine off and let your pet sit inside for 15–30 minutes.
- Take short drives (5–10 minutes) with your pet in the crate to introduce motion and vibration.
- Work up to longer drives (30–60 minutes) that mimic the actual ride to the airport.
- Play background noise — airport sounds, engine hum, crowd noise — at low volume while your pet rests inside.
- Let them sleep in the crate overnight. By week 6, your pet should sleep through the night on their own.
The Full 6-Week Timeline at a Glance
| Week | Activity | Target Duration | Success Sign |
|---|---|---|---|
| 1 | Crate present, door open, no pressure | All day (door open) | Pet sniffs and approaches the crate on its own |
| 2 | Feeding near/inside the crate; treats inside | Meal times (10–15 min) | Pet walks in voluntarily to eat |
| 3 | Door closed during meals; short closed-door sessions | 5–15 minutes | Pet stays calm with the door shut while you’re visible |
| 4 | Extended closed-door sessions; you leave the room | 30 min – 2 hours | Pet naps or rests quietly alone |
| 5 | Car rides; background noise; motion simulation | 30–60 minutes | Pet stays settled during rides in the crate |
| 6 | Overnight in the crate; full travel simulation | 6–8 hours | Pet willingly goes in and sleeps through the night |
Special Cases
Cats often need longer than six weeks, especially when the carrier already means a trip to the vet. The cat-specific steps are in our guide to preparing a cat for air travel.
Puppies and Kittens
Young animals adapt fast but can’t focus for long. Keep sessions short (3–5 minutes) and run them more often instead of stretching each one out. See: Can Puppies and Kittens Travel Internationally?
Anxious or Previously Traumatized Pets
Some pets carry negative crate associations from a shelter stay or a rough past trip. Plan for 8–12 weeks instead of 6, and consider a consultation with a veterinary behaviorist. See: Sedation for Flying Pets and our guide on Managing Pet Anxiety During Air Travel.
Why Sedation Isn’t the Answer
A lot of owners assume a sedative or sleeping pill is the kind thing to do before a long flight. It’s actually one of the more dangerous choices available. IPATA, IATA, and virtually every major airline advise strongly against it or ban it outright. Sedatives interfere with an animal’s natural balance, and at cruising altitude they can trigger unpredictable drops in blood pressure and breathing that a healthy pet simply doesn’t need. Real crate conditioning — not chemistry — is the only method vets actually recommend.
Senior Pets
Older pets can have joint pain that makes climbing into a crate uncomfortable. Look at lowering the entry threshold, adding orthopedic bedding, and asking your vet about pain management for travel day.
Common Mistakes That Ruin Crate Training
- Starting too late. Three days of training before a flight accomplishes close to nothing, and can backfire.
- Forcing the pet inside. Physically pushing a resisting pet into the crate builds fear that’s hard to undo.
- Only using the crate for travel. If it only shows up when something stressful is about to happen, your pet will learn to dread it.
- Training in a different crate than the one they’ll fly in. Switching crates on departure day creates unfamiliarity at the exact moment your pet needs comfort.
- Skipping the overnight step. If a pet can’t settle for 6–8 hours at home, they won’t manage 12+ hours in transit.
Last updated 15 Oct 2026
Compiled by our specialists from the regulations in force on the date above, for reference only. Rules may change after this date. Please verify with the competent authorities or contact us for the most accurate information.